


")
Estimated reading time: 5 minutes
The problem with connecting PowerBi Web to PostgreSQL hosted on AWS has arisen frequently over the past few years. The process itself is not very complex, and so I’ve put together a short piece on how to establish this connection.

Firstly, I highly recommended that your data gateway is hosted on a Virtual machine such as Elastic Compute Cloud instance (Amazon EC2) or on a Virtual machine (Microsoft). The reason for this is that the machine must run and have the access to the Internet whilst your data on RDS is being updated.
Here is a detailed description on how to create an Elastic Compute Cloud instance:
https://docs.aws.amazon.com/AWSEC2/latest/WindowsGuide/EC2_GetStarted.html
1. Install Npgsql
Npsql allows .Net access to PostgreSQL.
To do so, you need to download Npgsql-3.2.7.msi, which is available here:
https://github.com/npgsql/npgsql/releases/tag/v3.2.7
After downloading the file, you need to install Npgsql-3.2.7.msi file. During the installation make sure you select the “Entire Feature to be installed on local drive” option.
1.1) Click on “Next”
1.2) Accept the terms and click on “Next”
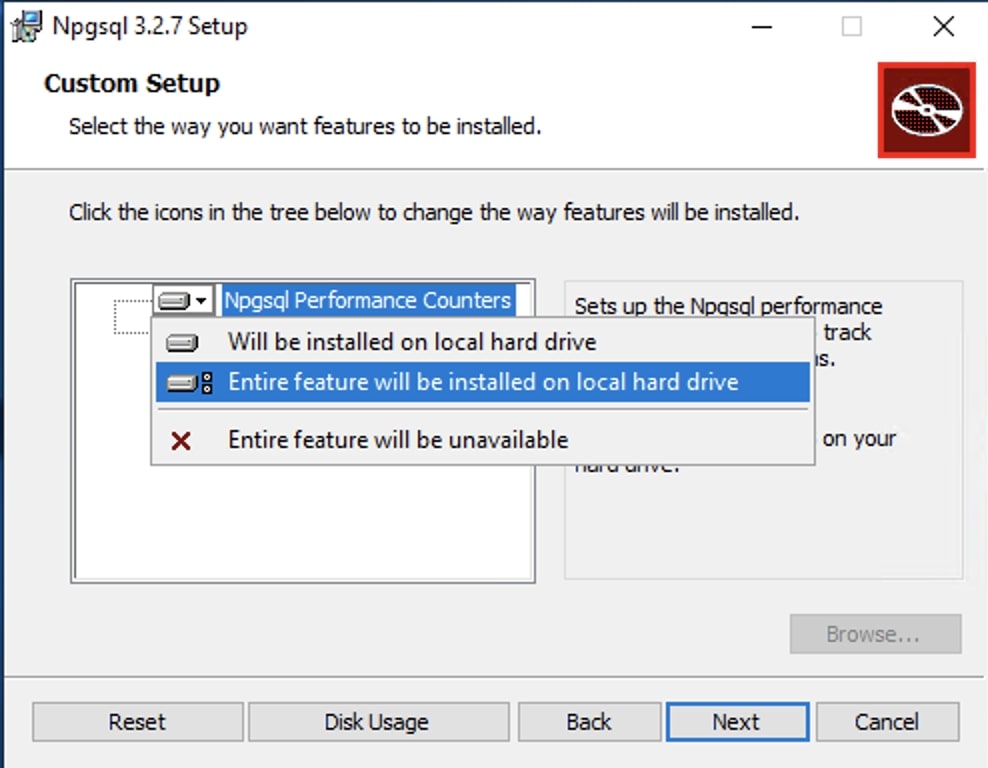
1.3) Click on “Npsql Performance Counters” and select the “Entire Feature to be installed on local drive” option
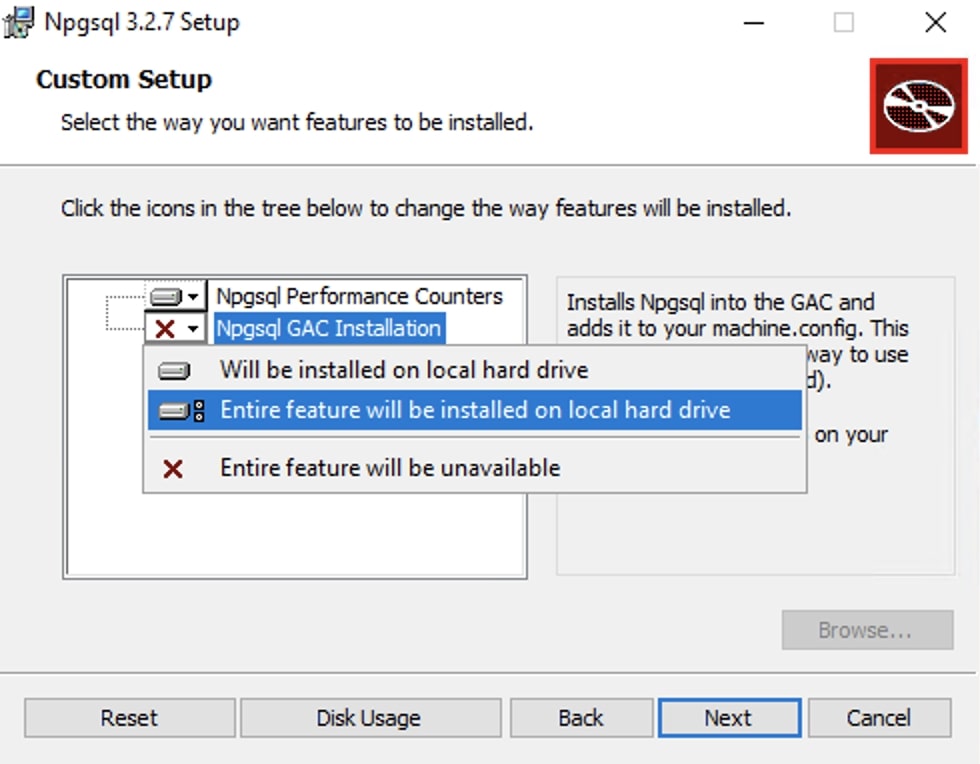
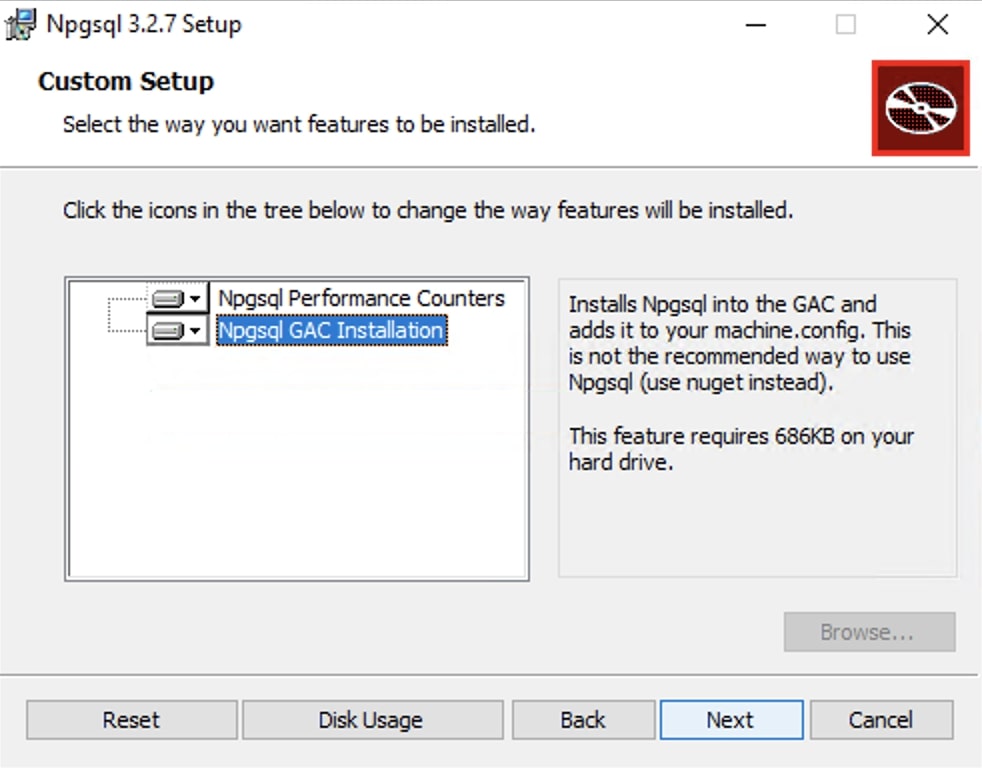
1.4) Click on “Npsql GAC Installation” and select the “Entire Feature to be installed on local drive” option
1.5) Click on “Next”
1.6) Click on “Next”
1.7) Click on “Finish”
2. Download the AWS public key and convert it to a certificate
2.1) Download the key here:
https://s3.amazonaws.com/rds-downloads/rds-combined-ca-bundle.pem
2.2) Convert the key here:
https://www.sslshopper.com/ssl-converter.html
Certificate File to Convert = Key downloaded in the previous step
Type of Current Certificate = Standard PEM
Type to Convert to = P7B/PKCS#7
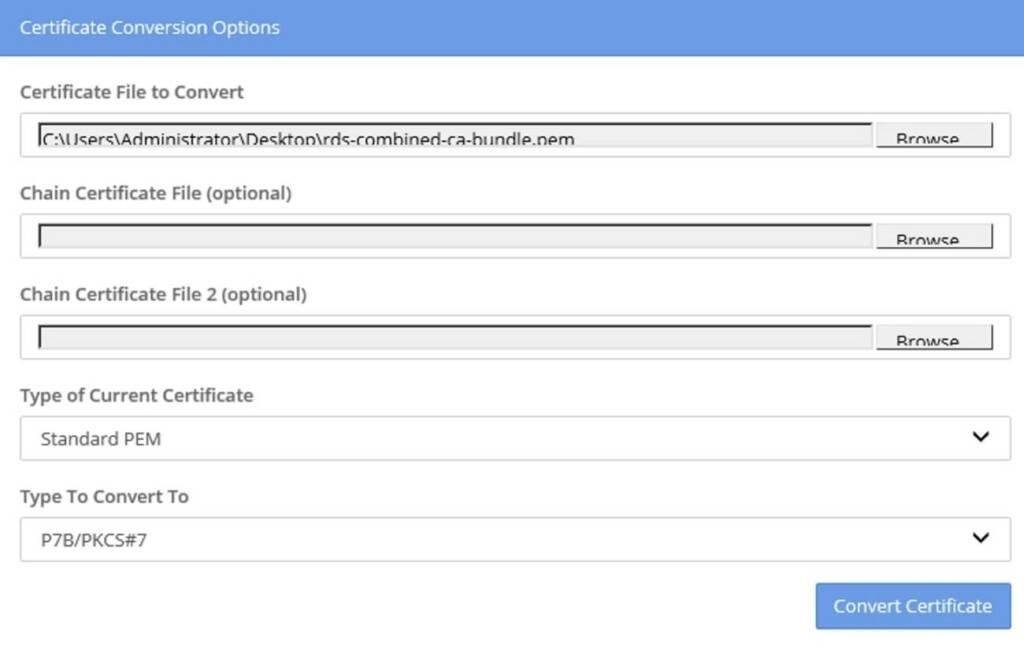
2.3) Click on “Convert Certificate”
3. Apply the Certificate
You need to import the certificate to Microsoft Management Console (MMC).
3.1) Click on “Search” and type “mmc”
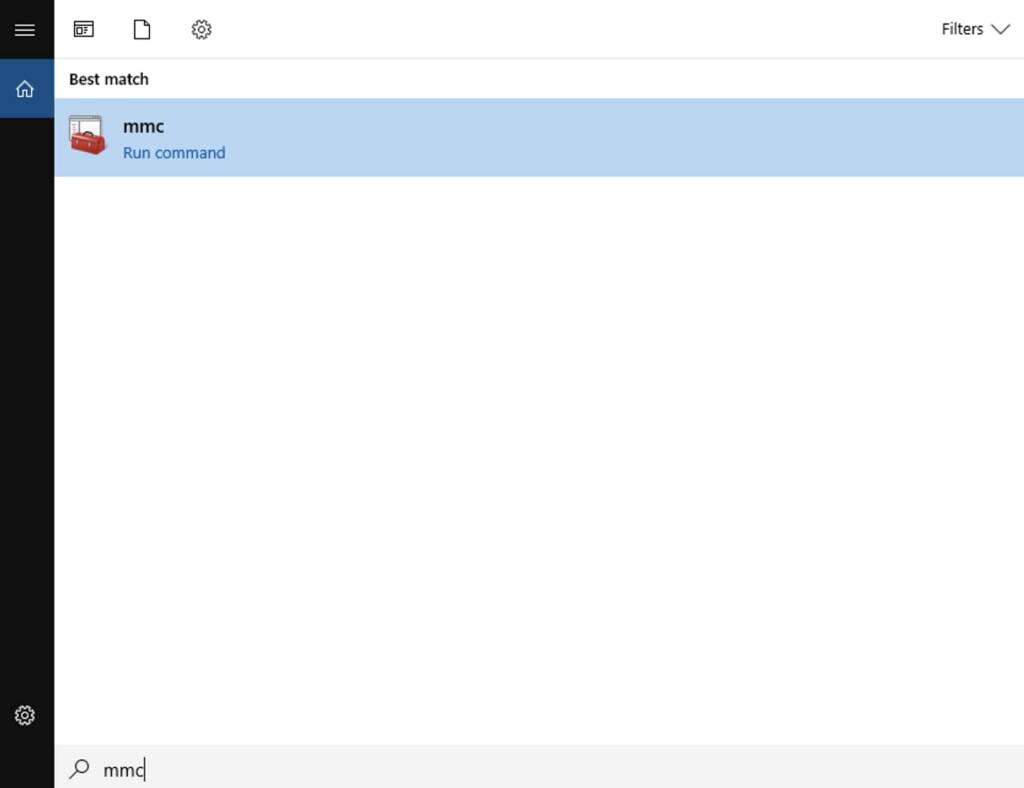
3.2) Click on “mmc”
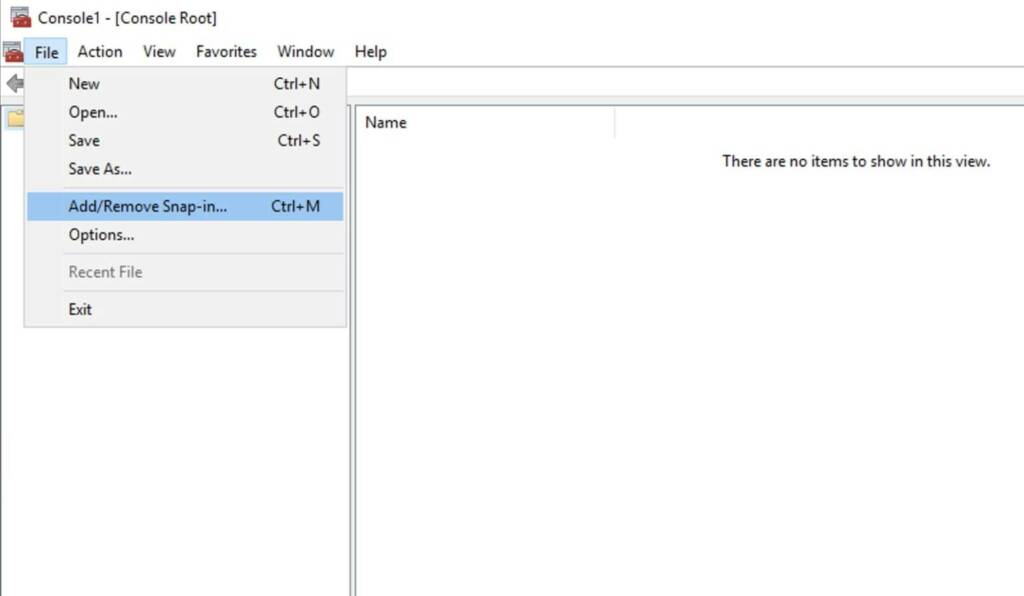
3.3) Click on “File” and then on “Add/Remove Snap-in…”
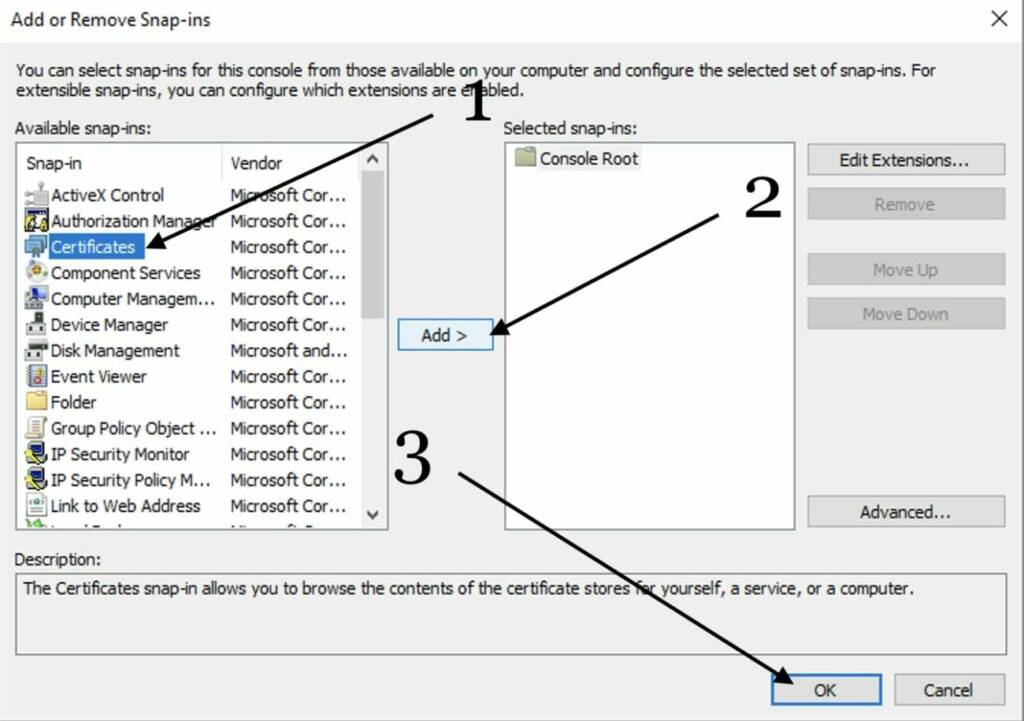
3.4) Click on “Certificates” then click on “Add”, choose “Computer account”, then choose “Local computer”, click on “Next”, click on “Finish and click on “Ok”.
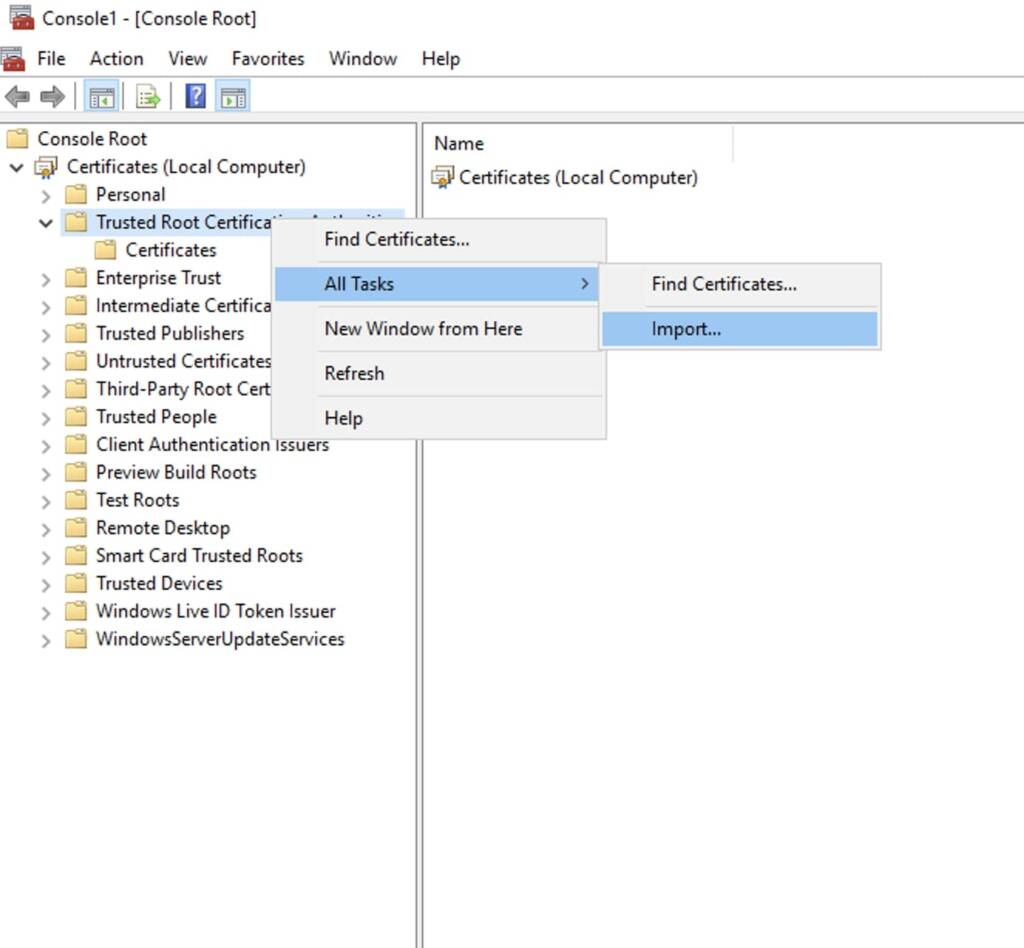
3.5) Click on “Certificates”, then right click on “Trusted Root Certification Authorities”, “All tasks” and “Import…”
3.6) Click on “Next”
3.7) Click on “Browse”
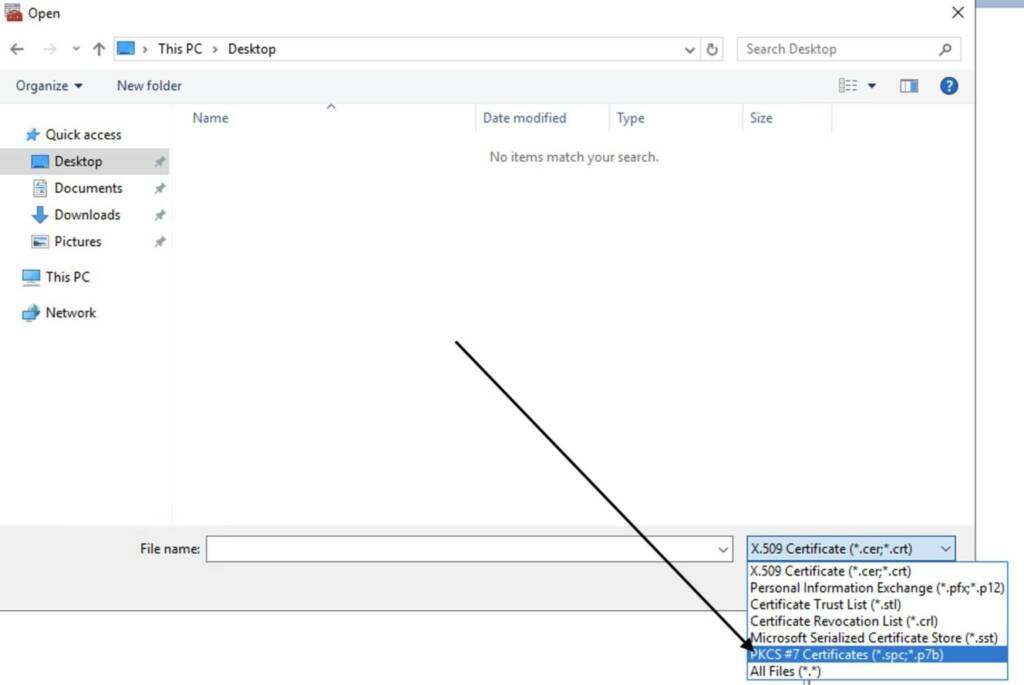
3.8) Change the file format to “PKCS#7 Certificates” and you should be able to see the certificate in the folder you downloaded it to, click “Open”.
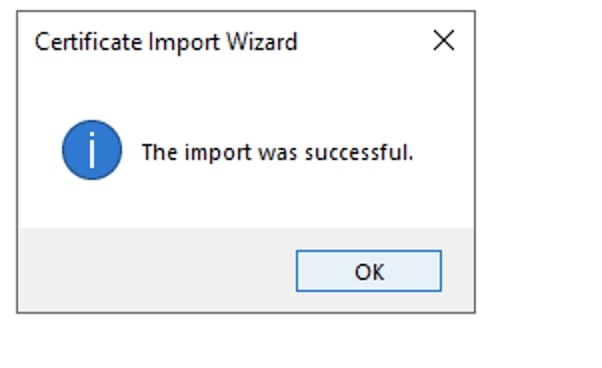
3.9) Click on “Next”, select “Place all certificates in the following store” and then “Finish”. You should receive a confirmation.
4. Download and Install On-premises data gateway
4.1) Download data gateway here:
https://www.microsoft.com/en-gb/download/details.aspx?id=53127
4.2) Run the program
4.3) Next you need to sign in (or register if you do not have the Microsoft account).
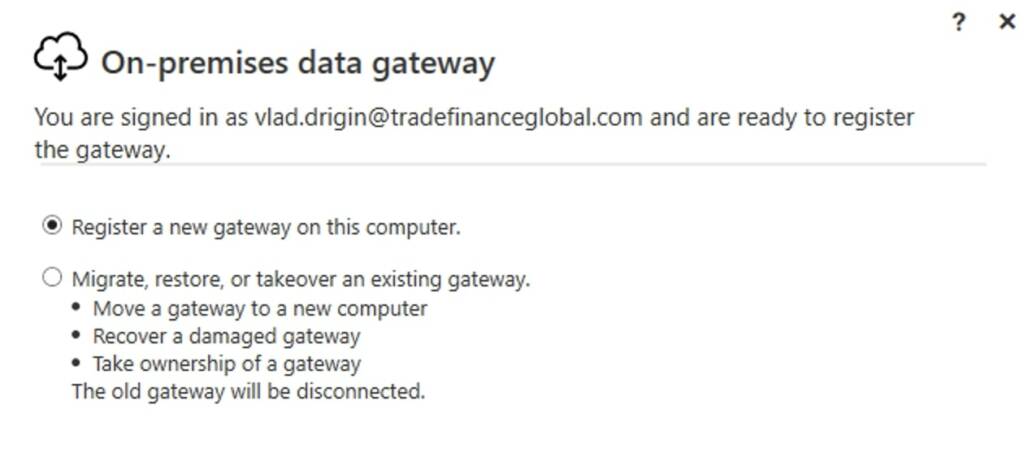
4.4) Select “Register a new gateway on this computer” and click on “Next”
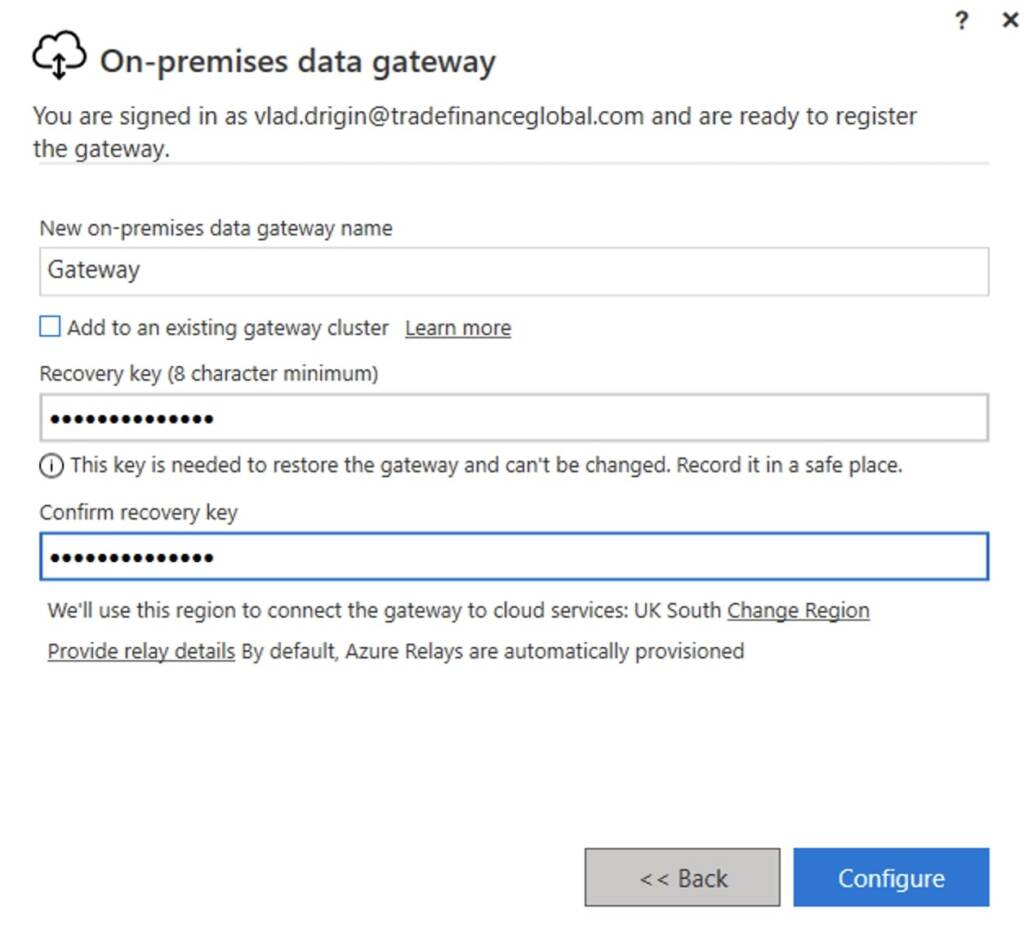
4.5) Choose a name and a password for your gateway and click on “Configure”
Now you are all set to add your data gateway to PowerBi!